
 US and Canada Shipping Only
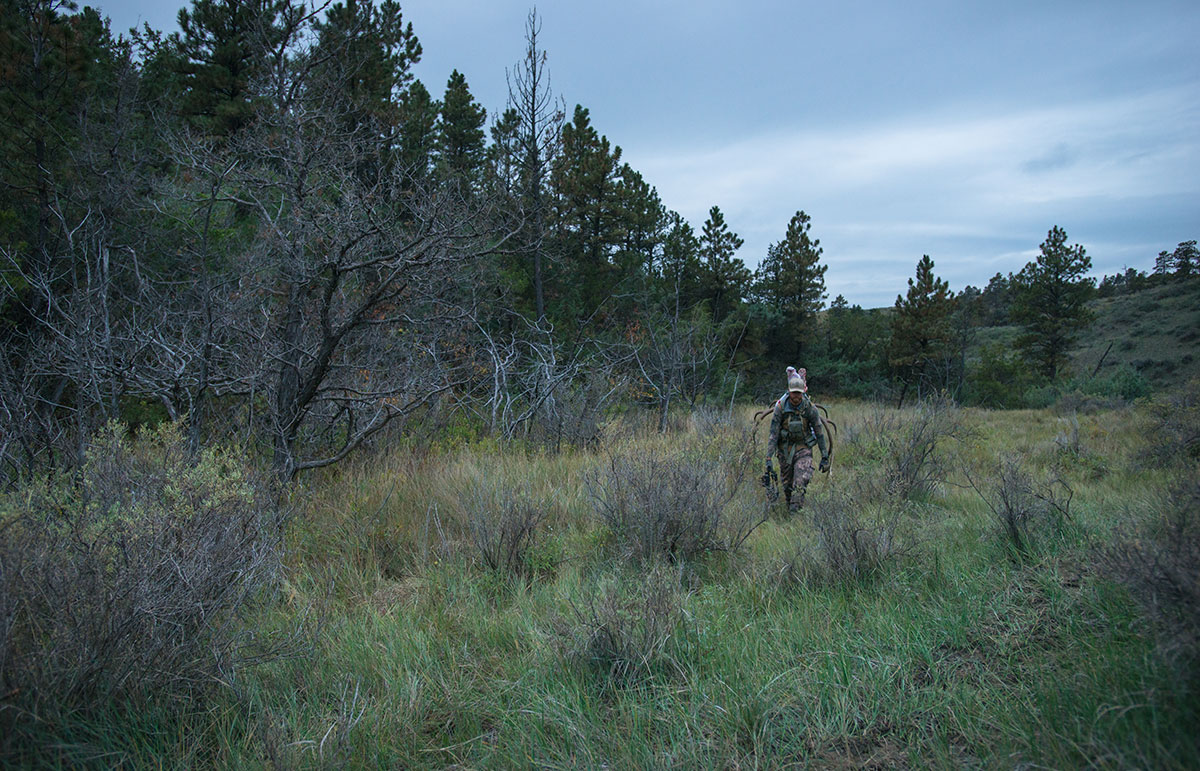
The adrenaline has hit you full force. Days, months or years of effort have finally paid off and you had your opportunity. That opportunity wasn’t about to slip by again and the arrow flew true. A short track job and a bull elk lay before you.
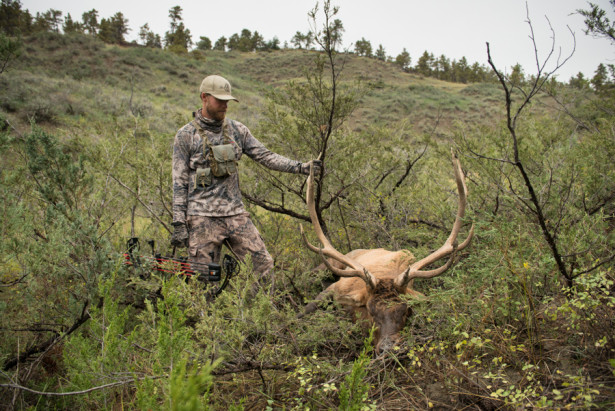
The moment is bittersweet, the experience searing an eternal memory into your brain. One thing has become clear though, the work now needs to begin. For many this is a daunting task especially if hunting by one’s self. Today though we are going to give you our insight on how to break down that bull and get it safely back to your truck. There are many ways to do this and opinions may differ on the process. We do know one thing though, we have developed a way that works very well for us and dozens of big game animals packed upon our backs has left us with the experience to say it works and it works well.
We’ll break our process down into two main steps, 1) Quartering the elk and 2) Packing the elk.
1. How to Quarter an Elk

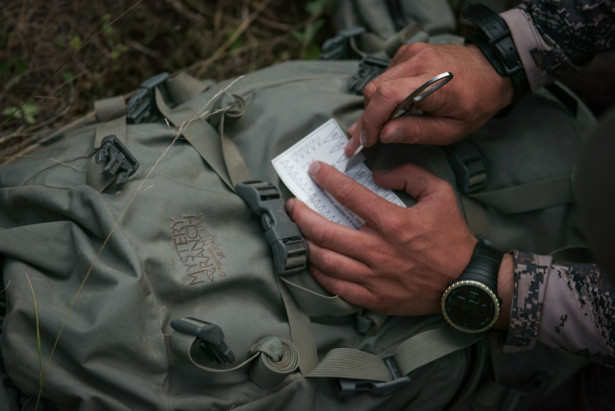
First make sure you tag your elk according to the state’s laws in which you are hunting. This step is often little thought of but keeping this top of mind will save you potential headaches.
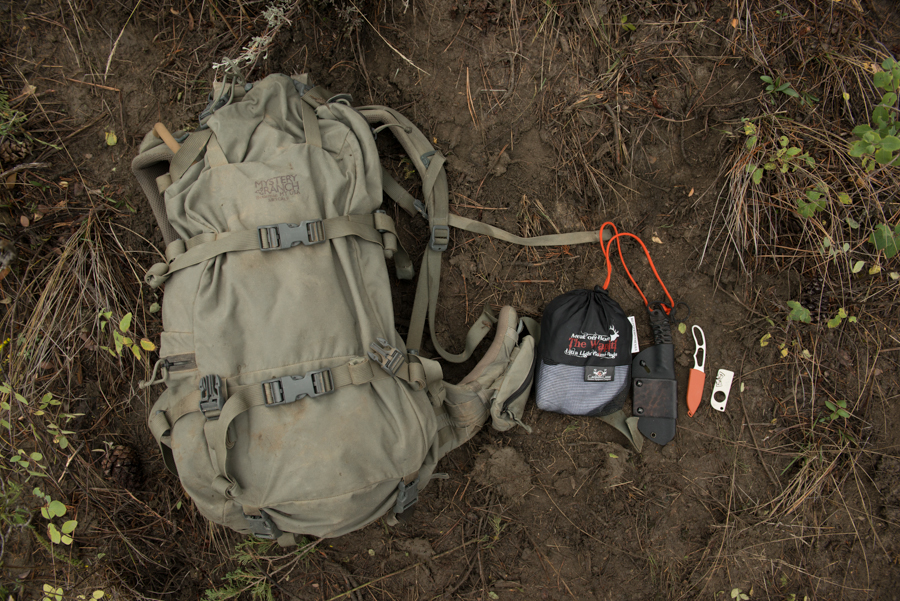
To quarter the bull we are going to need 4 Essentials: 1) a quality backpack (Mystery Ranch Metcalf) 2) a sharp knife (Behring Made Pro LT), 3) a knife sharpener (ARC Carbide Sharpener) and 4) four quality game bags (Caribou Gear Game Bags).

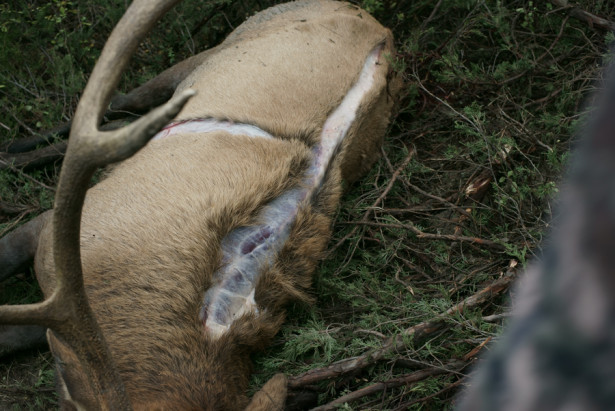
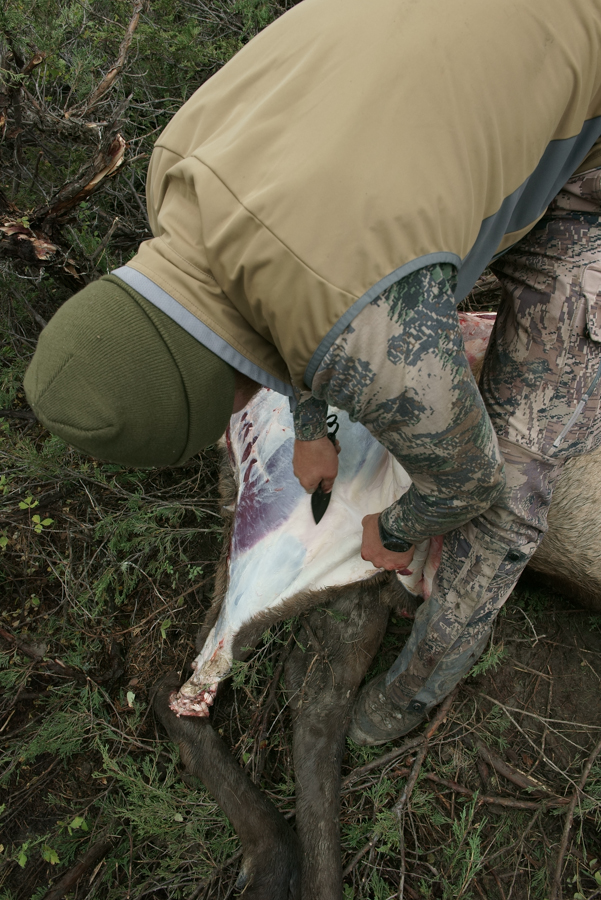
First we want to skin back the elk to start letting heat escape. We make cuts down the crease of each quarter and along the spine. Then we skin the hide back and down revealing the backstraps and side of the elk.

We then proceed to cut along the edge of the spine from rear quarter to front quarter. This is the first cut we make to remove the backstrap. Then from one end, slowly start cutting the backstrap out from the shelf it sits along where the ribs and spine meet. It will come out easily as it separates from the bone quite easily.

Now we move to the front quarter. Skin the hide back to each side of the leg to free the entire leg from hide.
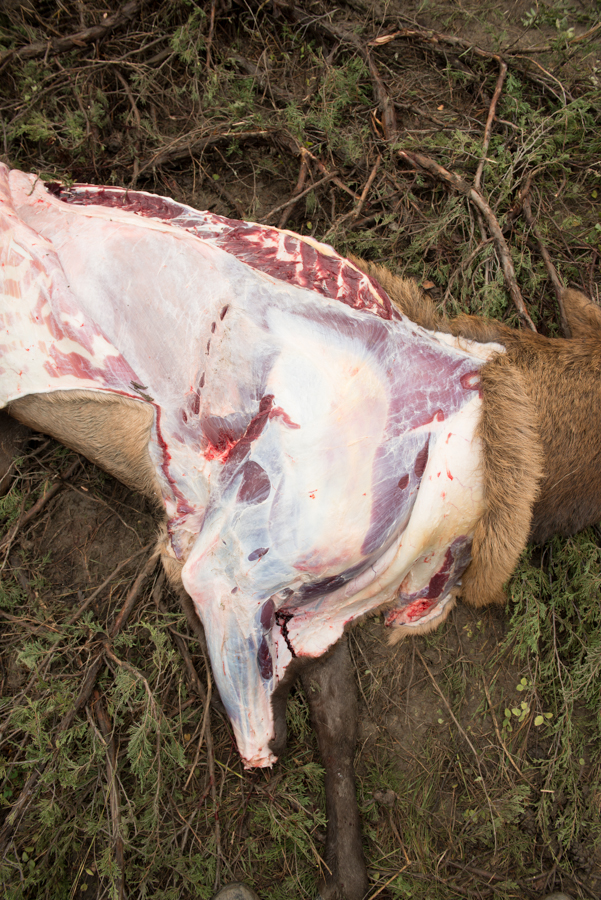
The front quarter isn’t attached by any hard joints so follow the meat from the elbow up to remove the front quarter. This is a good time thought to remember to be careful if you didn’t get a full pass through. My bull had the broadhead embedded in his off shoulder blade and showed up as I was removing the front quarter.

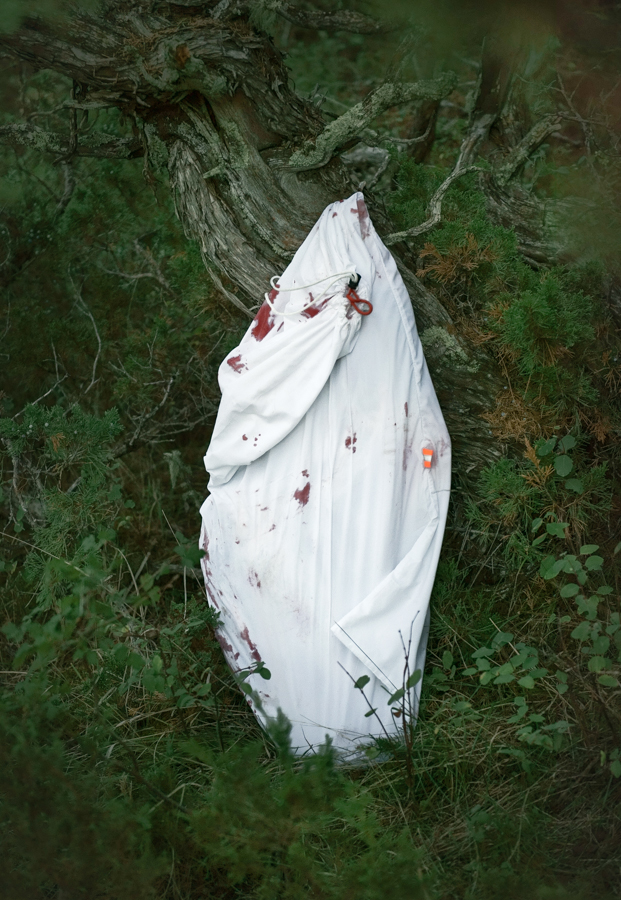
Once the front quarter is off, place it in a game bag and set it in the shade to cool.
We now repeat the process to the hind quarter. Remove the hide from the rear quarter and then remove the quarter. Be sure to hug tight to the spine of the elk to keep as much meat intact as possible. The rear quarter does have a ball joint that must be freed to remove the quarter. This is an easy separation once the joint has been found.
When the quarter is off place it in a game bag and set in a cool place. We now will take out the tenderloin. The tenderloin is found by going to the last rib and then going up under the spine. The tenderloin sits there between the spine and guts and you can remove it with a knife. This is a prime cut so taking a few extra minutes to do this right is well worth it.

At this point both quarters, backstrap and tenderloin on this side have been removed and are cooling in game bags. We have to flip the bull and this is a great time to remove the head. Go to the last vertebrae and make your cut there. Once you have the skull separate from the spine we will flip the bull to quarter the other side of the elk. The process will repeat itself and we end up with our entire elk in game bags and cooling down. Now begins the second process.
2. How to Pack Out an Elk
Packing out our elk back to the truck will entail 3 Phases.
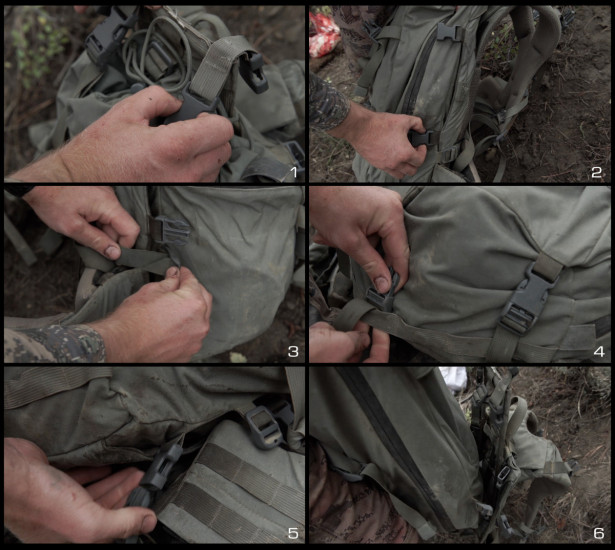
PHASE 1 – Remove Bag From Frame
The first phase involves separating the bag from the frame. First unstrap the buckles that connect the shoulder straps to the front of the lift kit, followed by the top two compression straps from the back of the lift kit. Unbuckle the side compression straps on each side of the pack as well as the angle cut web. After that we will unbuckle the bottom two compression straps and feed these back through the horizontal daisy chain. The last connection is the buckle that attaches the bottom of the bag to the frame. The only attachment you will leave connected is the load shelf which will stay connected to the middle horizontal frame stay connection. Once all of our compression straps are free we take the bag and lift it up over the top of the lift kit and it is now free from the NICE Frame.
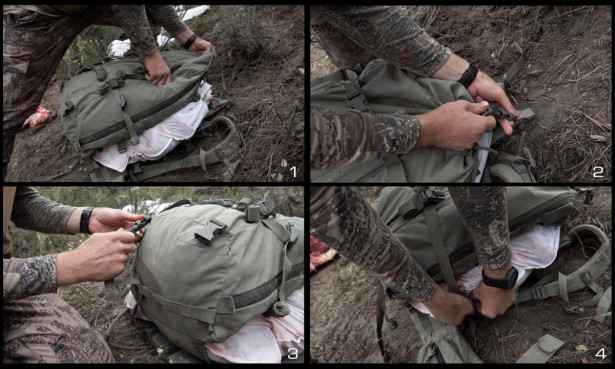
PHASE 2 – Prepping Bag and Loading Meat
We now are going to get ready to place the meat on the NICE frame. First we evaluate the requirement of depth for the meat (either one quarter or two) and set the overload shelf to that approximate width. After we have set the width of the overload shelf, it’s time to place the meat on the frame. Always remember to lay your frame as flat on the ground as you can before placing the meat on it. When situating the meat on the frame it is important to place the mass as evenly as possible so that the weight distribution of our load is even and will ride in the most comfortable fashion.

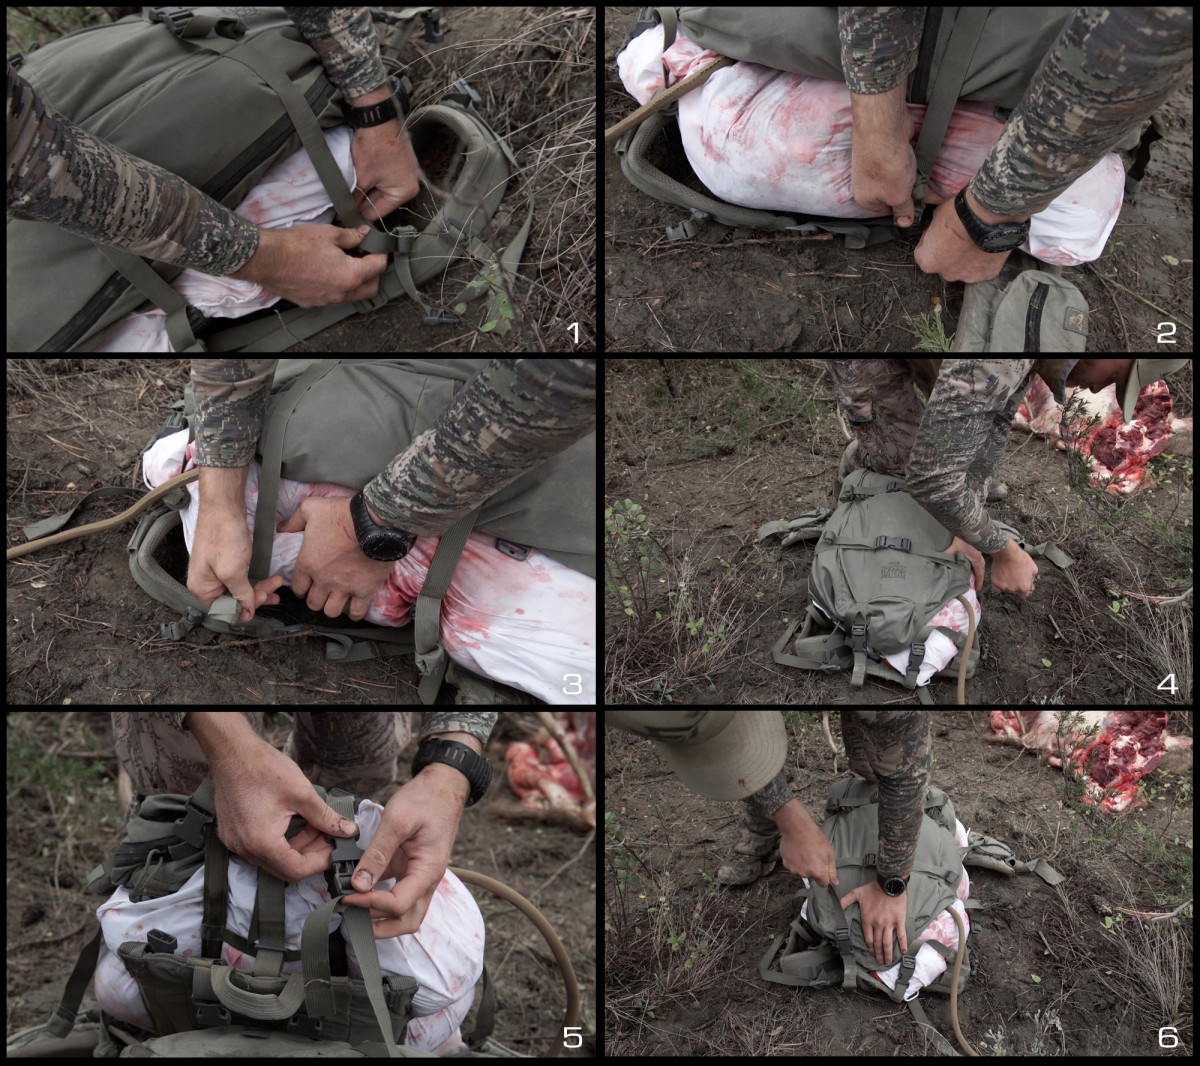
PHASE 3 – Securing the Load
The final phase is to re-connect the bag to the frame and secure our load. Pull the bag back up over the game bag and lay it on top. Reconnect the compression straps to the NICE Frame and Lift Kit, then secure snugly. When securing the compression straps, it is best to taper the compression from bottom to top so that the bulk of the weight is carried as close to your scapula bones as possible. By placing the majority of the weight over the frames center, you can transfer the weight efficiently to your waist and/or shoulders while maintaining stability and standing with near vertical posture. The importance of this is exponential on particularly long pack-outs. Being able to adjust the weight transfer of the pack will allow the user to maintain maximum comfort throughout the pack out rather than suffering through a single weight distribution position. It is paramount to tighten all compression straps snugly, the less your load shifts the more comfort you will have and the safer you’ll be with a heavy load. I’m going to make sure the load is still placed evenly and then begin tightening the side compression straps starting at the bottom in an alternating fashion to get tight compression on the load. Tighten the top compression straps and finally go through and re-snug all straps. Our load is now securely strapped into our pack and we are about ready to throw it on our shoulders. Reconnect the shoulder straps to the load lifter and we now can begin packing back to the truck.
The easiest way to get the pack on, especially when solo, is to roll the pack to where you can sit into the harnessing. Connect waistbelt and chest strap, then tighten the shoulder straps and tension the load lifters. Roll over to your front and stand up. Once you are standing, re-tighten the waist and shoulder straps then tension the load lifters.
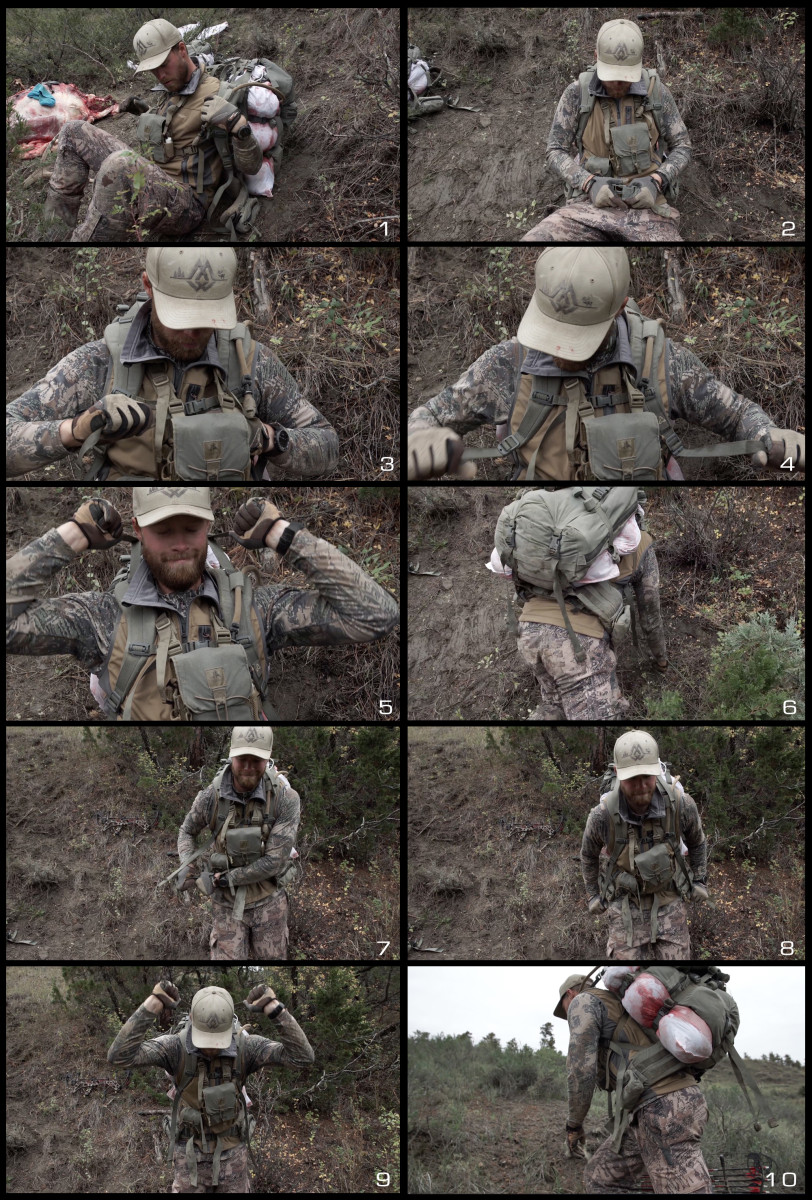
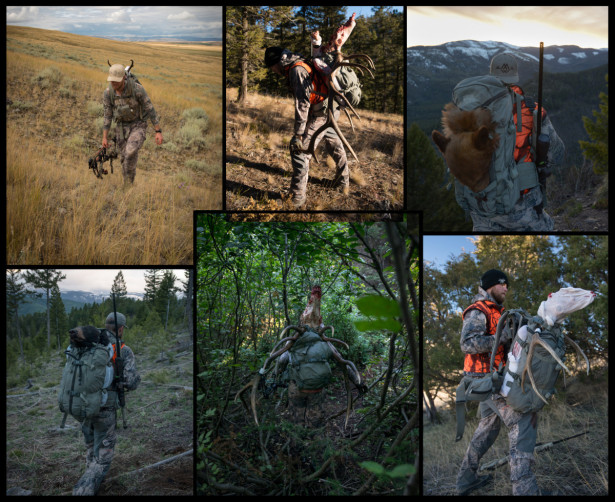
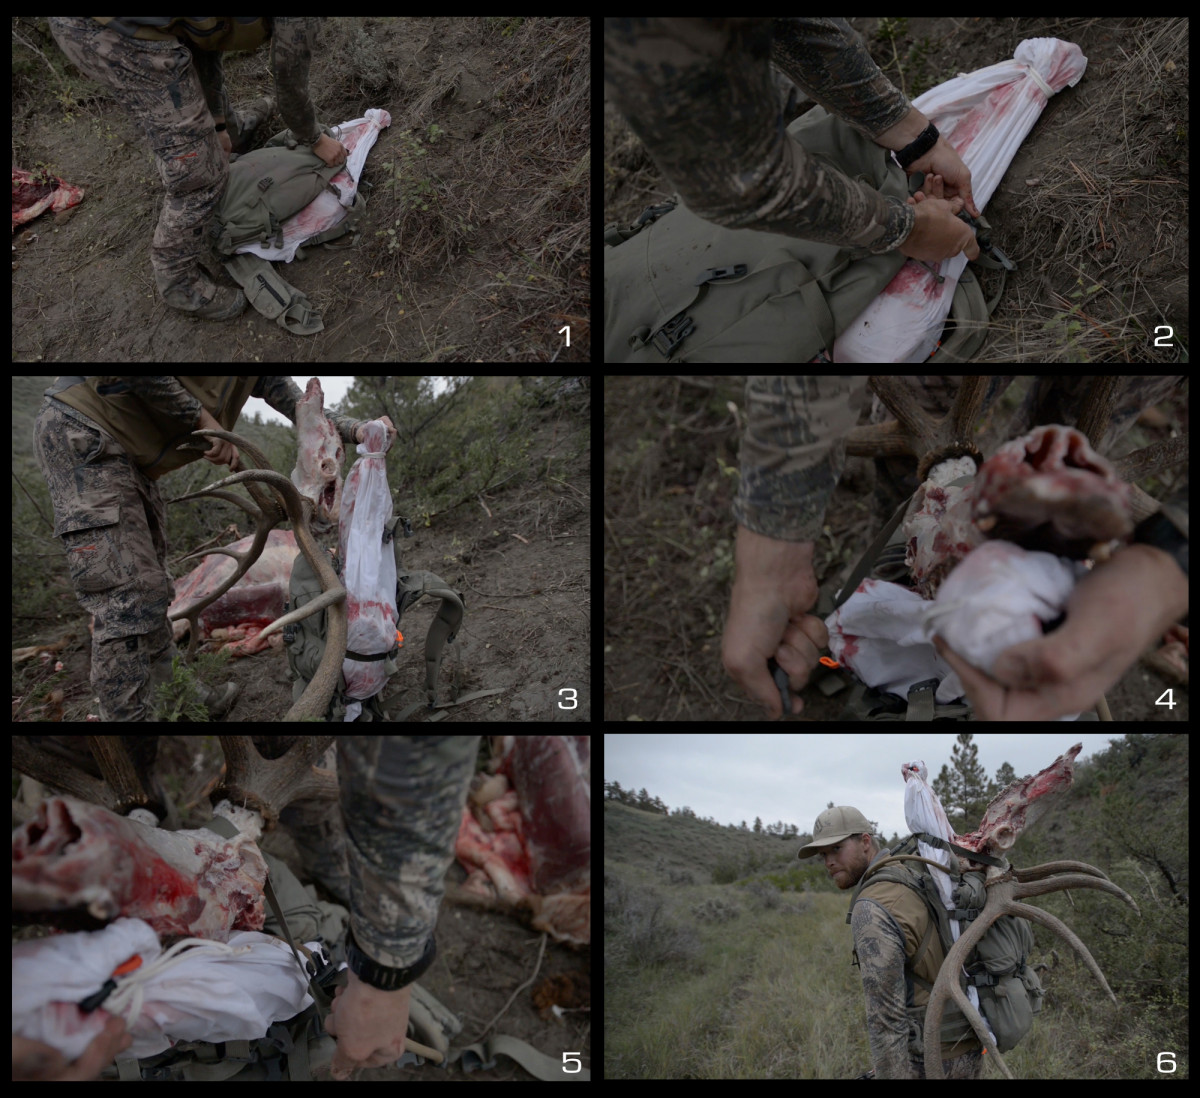
We took the first load to the truck. With the cool temps we decided to let it cool on top of the cooler until we return with the final load. We hiked back down to our elk and loaded up a front quarter and the rack to our Metcalf to finish our pack out. We go through the same steps as before to place our front quarter between the frame and the bag. To attach the rack we will set the pack in an upright position and set the skull on the top of the pack with the tines facing away from body of the Metcalf. We then thread the top compression straps above the base of the antlers and to the opposite side of the back of our lift kit. Then repeat with the second top compression strap. This criss-cross pattern will secure the rack to our pack. If you desire additional support you can use extra accessory straps. Tighten the two compression straps and your ready to get the pack back on your shoulders.

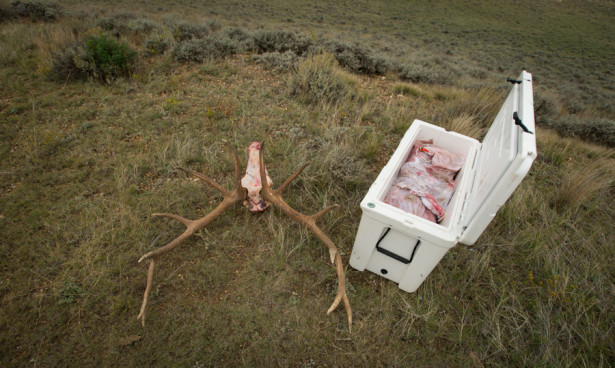
Now that we have all of our meat back to the truck we want to make sure all the meat is cooled down before going in the YETI. If the meat is packed into the cooler tightly before cooling, the environment can actually insulate the meat in the center and cause it to spoil. Under very hot temps this isn’t an option and you’ll need to put all the meat in the cooler on ice. This time it was about 45-50 degrees out and was perfect to cool the meat before placing it in the cooler. We typically will put 5-10 pounds of dry ice, 3-4 blocks of ice as well as 3-4 bags of crushed ice into our YETI prior to leaving to hunt. This allows us to have ice for well over a week even in 80-90 degree temps. We lay the hind quarters on the solid ice blocks, then add half the crushed ice, place the front quarters on top and then add the remaining crushed ice. This allows us to travel for multiple days if needed before needing more ice or putting the meat into a freezer.
We hope this write up was informative. If you think you have a better way to handle any of the areas written about we would love to hear them in the comments below as we believe this process is a continual work in progress.
-Zack Boughton, Montana Wild