US and Canada Shipping Only
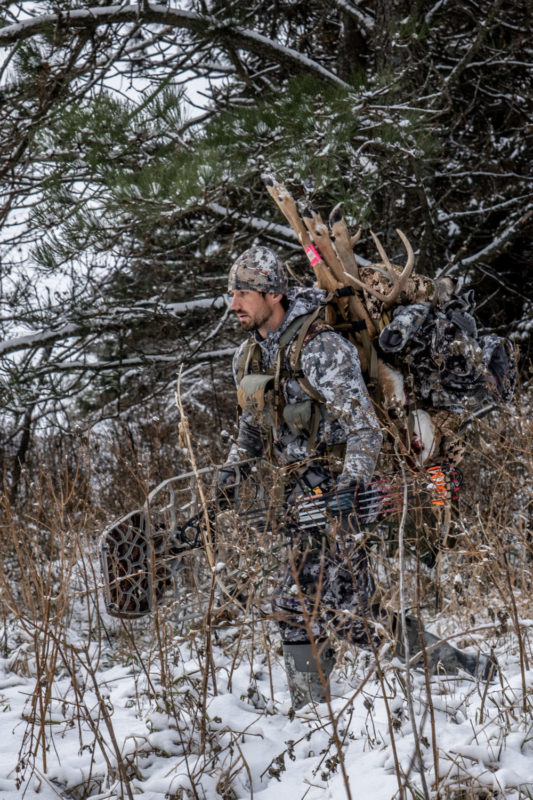
By: Hunting Ambassador, Sam Soholt
Traveling to hunt whitetail in a new location is daunting, but that’s what makes it so rewarding. It forces you out of your comfort zone, and I’d argue that it will also make you a better hunter overall. I have been a nomadic hunter for the last ten years and have hunted in many new areas. Each new location offers a separate set of challenges and learning curves.
Most of you already have a location in mind you would like to travel and hunt. I’m not here to tell you where to hunt. The state, region, county, those are all up to you to figure out on your own. You don’t need me to make recommendations. I want to help you make the trip you’ve been dreaming of.
The purpose of this blog is to help you with three phases of a travel hunt.
Phase One: Learning a Location from a Distance
My hat goes off to the generations before me that did all their travel hunting with a road atlas and a topo map. That amount of time and dedication is next level when you compare it to all the tools at our disposal these days. Lucky for you, modern technology has made getting a jump on an out-of-state hunt a little easier. Maybe not easier, but at least you can hit the ground with a little more intel than just showing up blind. Here are a few of the resources I use when learning about a location before I show up.
State Agencies:
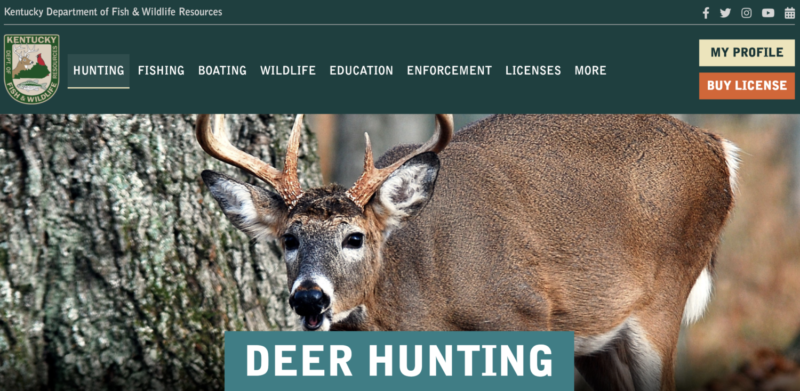
All the money from your tag purchase is used to fund state biologists, public land access, and wildlife/herd management. Use this to your advantage. No, the agencies can’t tell you where to hunt, but they can tell you what the deer density research shows in the area you plan to hunt.
They can also share the latest maps and updated easement listings to know exactly what ground and how much of it is open to hunting. All it takes is a phone call and a few questions to either confirm your choice or perhaps make a decision to head to a new location.
Forums:
Do not, I repeat, DO NOT, get on a forum and ask something like, “Hey, I’m planning a hunt to X state, wondering if anyone could point me in the right direction?”
This is an opening to get berated by keyboard warriors for trying to infringe on their honey hole.
But that doesn’t mean you shouldn’t rule out the valuable information you can gather from forums. Most hunting forums have threads about hunting certain states, and it can be a great resource to learn what type of cover people are hunting, tactics people in the state are using to be successful, etc.
It will take some reading through the lines to find those gems, but it can definitely be done.
One of my favorite forums for whitetail is The Hunting Beast. These pages are full of people that are thinking outside the box and openly sharing thoughts and strategies. Be willing to engage in some of the threads and ask questions or opinions on certain hunting situations throughout the year. For example: “I am planning an early season whitetail trip and was curious if any of you had better luck hunting mornings or evenings? And I am thinking of finding transition areas between bedding and food to catch something moving through. Is that a good starting point, or should I be more focused on getting right into a bedding area?”
Try to read, interact, and soak up as much info as you can.
E-Scouting:
This is by far the most critical part of planning an out-of-state whitetail trip. I use OnXMaps. The number of hours I spend on the app and online version of the software is borderline fanatic. OnX also has the public/private landlines and private landowner information, which can be very helpful if/when you start knocking on doors to get permission.
My E-Scouting process goes as follows:
- Pick a location for base camp. Mark it on the map. This can be shifted later, but it will give a good starting point for online scouting. Whether it is a campground, small-town motel, or public land pull-off, you need a starting point.
- Begin working out in circles on the map from that central location. If I can find a good basecamp location that has numerous chunks of public ground nearby, that is key for the type of hunting I do. Shorter morning drives make for a little extra sleep, and sleep is a luxury at that time of year.
- Try not to overthink it. Deer need three things: food, water, cover. And especially during the rut, a good cover is key to hone in on locations bucks might check for does. As I scour the map, I keep that in my head. A piece of public land might not have food on it, but if it looks like a good thick cover and has a pond or creek running through it and sits adjacent to an ag field, it gets a pin for further inspection.
- I look for pieces of ground that have a pinch or a natural funnel. Deer will almost always take the path of least resistance that keeps them hidden so if you find a spot of cover that pinches down between open spaces, mark it. I always keep the hybrid topo/satellite layer on to easily spot a ridge or saddle that deer may walk down or cross over.
- The other great thing about using OnX is the color-coding waypoints. I use one color for high-priority locations and another color for secondary/backup locations. If you’re planning this trip with friends or family, you can also share waypoints so you can be on the same page about which locations need to be further scouted/hunted when you get to camp.
- Look for areas that might be overlooked by other people heading to the woods. Deer don’t need a lot of space to roam or at least transition through. Sometimes, a quiet little ¼ section or even 40 acres between two bigger chunks of property is all you need to have success.
- Once I feel like I have sufficient locations marked to get me started into the hunt, it is on to phase 2.
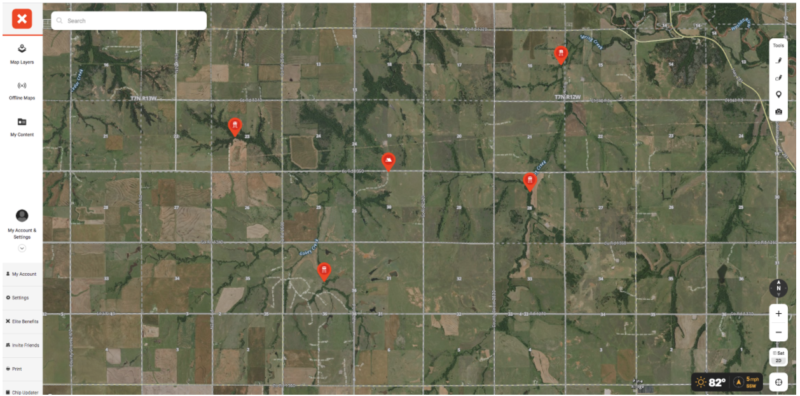
(Example of picking a location and marking possible locations to check)
Phase Two: Boots-on-the-Ground Scouting
This phase of a DIY travel whitetail hunt is not always feasible based on the time needed to make it happen, but it can be the difference between year one success and simply a year one learning experience.
At this point, you’ve spent a hundred hours searching OnX, and your map looks like a scene from A Beautiful Mind. You’ve talked to the state agency and confirmed good deer density and learned about hunting pressure. You’ve probably learned, laughed, and cringed at some of the forum threads you have gone through trying to pick up tips and tactics for hunting the state you are headed to.
Now it is time to go and see if all of your online research actually correlates into good deer spots.
Ideally, a scouting session should take place sometime in early spring before the green-up. Late February and March are great times to look for deer signs from the previous fall. Trails are visible, but no new growth has come up. Rubs and scrapes are also very easy to spot without any of the foliage blocking your view.
This time of year, you might also pick up a shed or two, which could give you an indication of what type of deer might be roaming the area.
If you can’t make it out for a scouting trip in the late winter/early spring, maybe you can go chase turkeys around if the region has a good population and use that as a scouting trip. It’s always good to have a multipurpose trip as an excuse to roam a new area.
Mostly, being able to put boot rubber and eyes on a location without the fear of bumping a deer is the best part. You can tromp through anything and not feel like you’re going to ruin a hunt or blow out a mature deer. You can use this time to put pins on those rub lines, mark potential stand and blind locations, and get a feel for how the land lays instead of relying solely on a topo map.
Depending on state regulations, you might be able to hang cameras and then take inventory when you head back in to actually start the hunt.

Even if you can get to your intended destination for a long weekend, since you’re not actually hunting each spot, you can cover a lot of ground quickly and gain invaluable intel and confidence for your trip in the fall.
If you intend to hunt with other people, try and head out to the location together and split up the scouting or have one person navigating and marking waypoints and taking notes while the other person drives and helps look for signs.
If you can’t make this scouting trip happen, it is not a make or break for your hunt – it just means you’ll have to spend a couple of days learning a little more.
Phase Three: The Hunt Itself
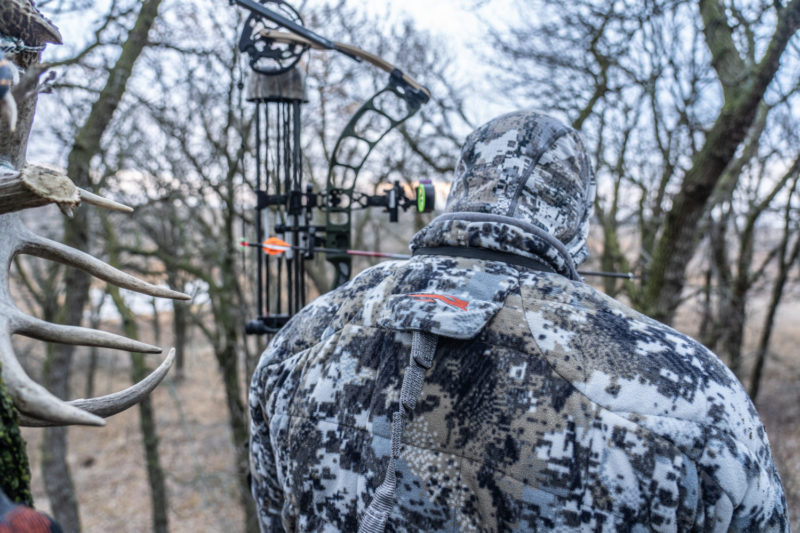
This is it. The 5-10 days you’ve been thinking about for a year, two years, maybe more is finally here.
Starting the Hunt:
You can choose to go hunt in any way you like, but this is how I approach a new area I’ve never hunted. I am a firm believer that your best chance to shoot a deer is the very first time you head into a new spot. I pick my top 6-8 locations on the map and hunt them in that order. One location on the morning one, another location on the evening one, the next on morning two, and so on. This does two things:
One, it allows you to learn a lot about the area you are hunting.
Two, it gives you that edge of it being the first time in a location.
If there is more than one of you in a hunting party, doing this will give you a ton of intel in a very short period of time.
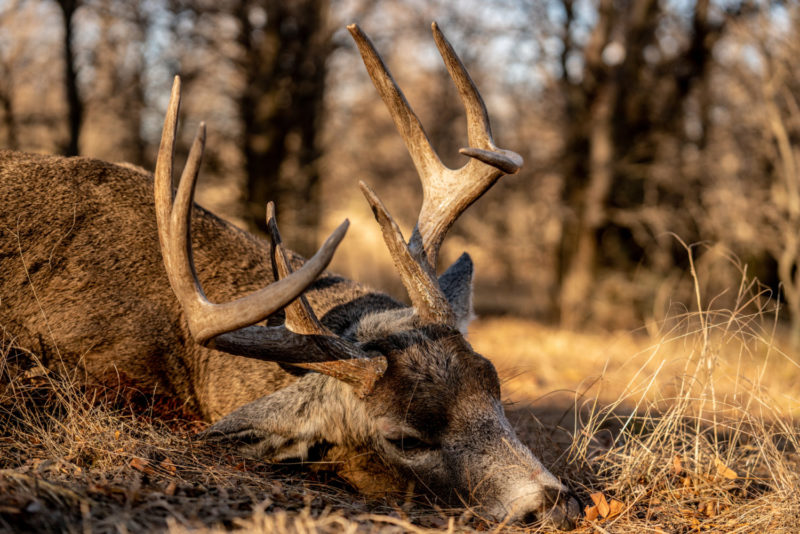
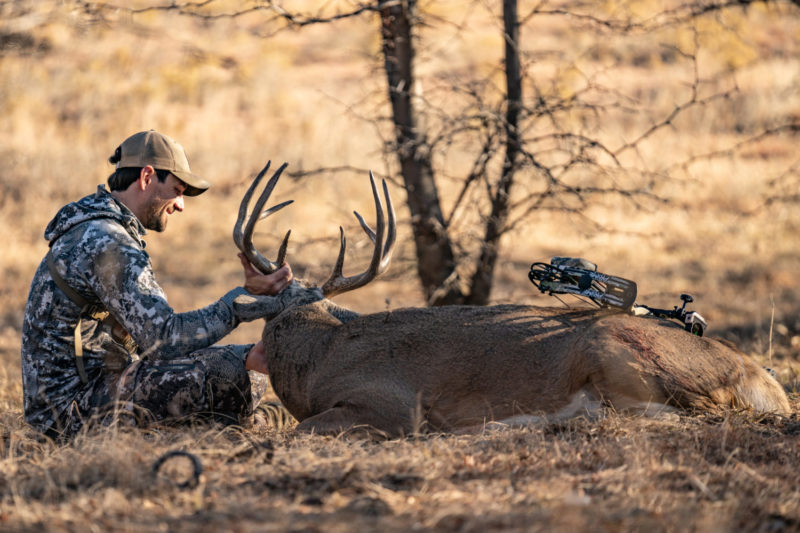 Example: A couple of years back, we did a family whitetail trip to a brand-new area. There were four of us in camp. My brother Josh and I had done a lot of online scouting, and when we all hit the woods, all four of us were hunting a different spot both morning and evening – learning eight spots a day and then comparing notes and marking maps for future hunts depending on what we found. It was also a great way to cross off locations that weren’t as good in person as on paper. I ended up shooting a big, heavy 8-point using this tactic that year in a spot I had never laid my eyes on until that morning.
Now, this tactic is not set in stone. It can certainly shift if you get into a good pocket of rut activity or spot a deer worth spending more time on. This is just a good way to start the hunt and then adjust from there.
Dealing with Hunting Pressure:
When you’re e-scouting or off-season scouting, you probably won’t be focused much on hunting pressure – you’re most likely dreaming of what fall will bring. But hunting pressure is always something that will need to be accounted for. If you get to camp and head out for the hunt but start running into hunting rigs at all your primary locations, don’t get frustrated; pivot.
By pivot, I mean start looking at those backup and secondary locations you scouted on the map. If need be, wake up a little earlier and drive a little farther to get away from people. Or, if the piece of ground is big enough, don’t be afraid to walk a little farther. You are going to need to out-hustle the other hunters. Sometimes just walking another 10 minutes back into a spot can put you in your own little world and can turn frustration into the hunt of a lifetime.
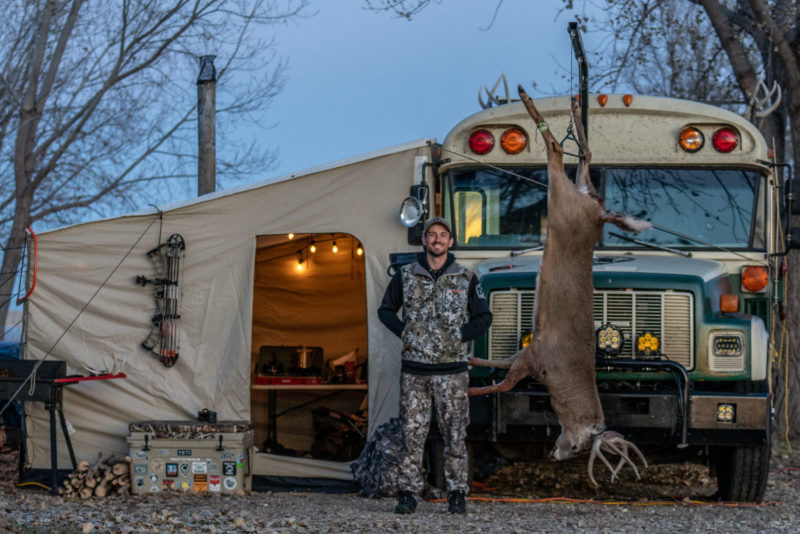
Soak it in:
Travel hunts are meant to be an adventure. Many things could cause stress on a trip like this: tag cost, time away from home, work, family, etc. Try to remember why you wanted to take this trip in the first place. I know, easier said than done, but soak in the experience of the new area, don’t be pressured to fill a tag – really take it all in.
The more you can just let yourself enjoy the journey, the more opportunities you’ll find presenting themselves along the way.